Installing a wireless Ring Doorbell can greatly enhance your home security while providing convenience at your fingertips. With its high-definition video, two-way audio, and smart notifications, a Ring Doorbell allows you to monitor your home from anywhere. This comprehensive guide will take you through the process of installing a wireless Ring Doorbell, ensuring you have a seamless setup experience.
Table of Contents
ToggleWhat is a Ring Doorbell?
A Ring Doorbell is a smart home device that acts as a security camera for your front door. It allows you to see, hear, and speak to visitors from your smartphone, tablet, or computer, even when you’re not at home. With features like motion detection and cloud storage for recorded videos, it provides peace of mind and increased security for your property.
Benefits of Installing a Wireless Ring Doorbell
- Ease of Installation: Wireless models do not require complex wiring, making installation simple and accessible.
- Remote Access: Monitor your front door in real-time from anywhere using the Ring app.
- Two-Way Communication: Speak to visitors through your phone, adding an extra layer of security.
- Motion Alerts: Receive instant notifications when someone approaches your door.
What You’ll Need
Before starting the installation process, gather the following materials:
- Wireless Ring Doorbell
- Smartphone or tablet with the Ring app installed (available on iOS and Android)
- A Phillips screwdriver
- A drill (if mounting on brick or concrete)
- Level
- Pencil for marking
- Wi-Fi connection
Step-by-Step Installation Guide
Step 1: Charge the Doorbell
- Charge the Battery: If your Ring Doorbell is battery-operated, charge the battery fully using the provided USB cable before installation.
- Check the Battery Level: Once charged, check the battery level by pressing the setup button on the device. A solid green light indicates that it’s fully charged.
Step 2: Download the Ring App
- Install the Ring App: Download the Ring app from the Apple App Store or Google Play Store.
- Create an Account: Open the app and create an account or log in if you already have one.
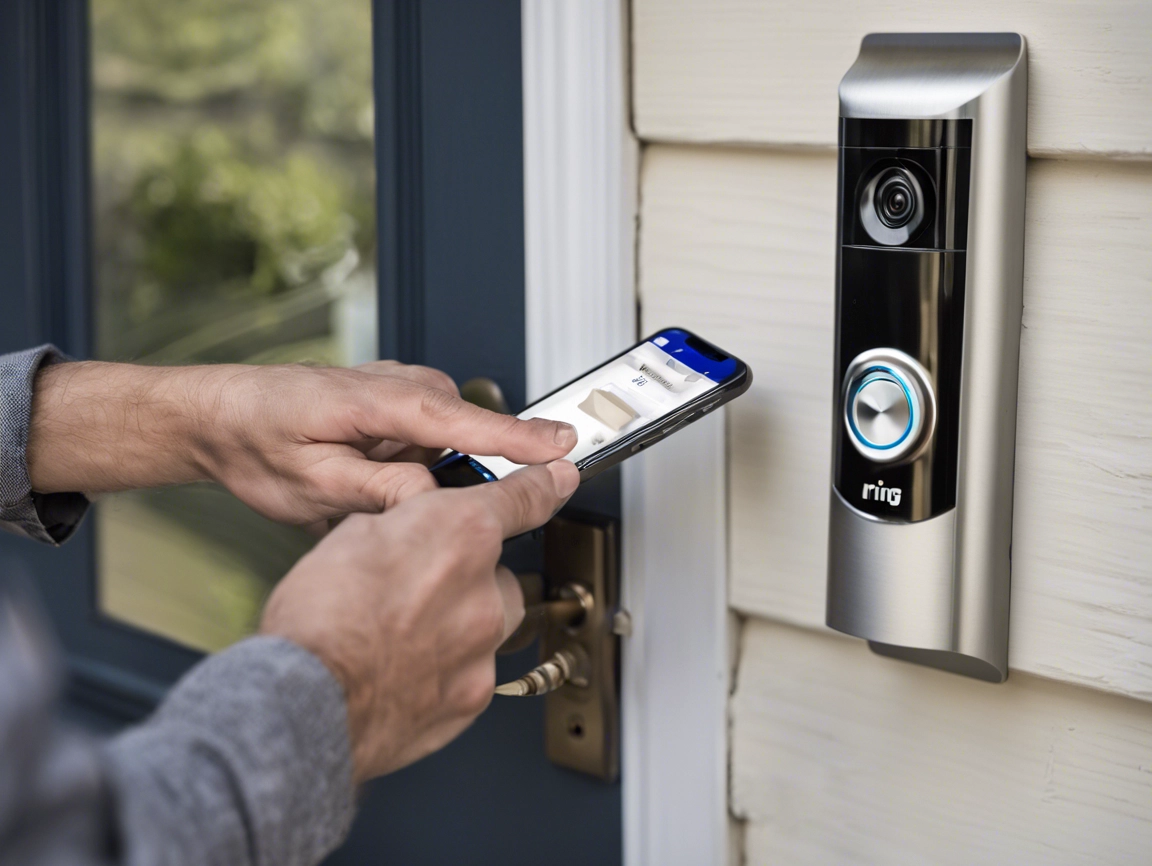
Step 3: Set Up Your Device in the App
- Add a Device: Tap the “Set Up a Device” option in the app.
- Select Your Doorbell Model: Choose the model of your Ring Doorbell you are installing.
- Follow In-App Instructions: The app will guide you through connecting your doorbell to your Wi-Fi network. Make sure you have your Wi-Fi password handy.
Step 4: Choose the Installation Location
- Select the Best Location: Choose a location for your Ring Doorbell that has a clear view of your front door and is within range of your Wi-Fi signal.
- Height Recommendation: Ideally, the doorbell should be installed at about 4 feet from the ground for optimal performance.
Step 5: Mark the Drill Holes
- Use the Mounting Template: The Ring Doorbell package usually includes a mounting template. Hold the template against the wall where you plan to install the doorbell.
- Mark the Holes: Use a pencil to mark the locations of the drill holes.
Step 6: Drill the Holes
- Drill Holes: If mounting on brick or concrete, use a drill to create holes in the marked locations. For wooden surfaces, a regular screw will suffice.
- Insert Wall Anchors: If necessary, insert the provided wall anchors into the holes.
Step 7: Attach the Mounting Bracket
- Secure the Mounting Bracket: Use the screws provided to attach the mounting bracket to the wall.
- Check for Level: Ensure the bracket is level before tightening the screws completely.
Step 8: Attach the Doorbell
- Align the Doorbell: Align your Ring Doorbell with the mounting bracket.
- Press to Secure: Push the doorbell onto the bracket until it clicks into place.
- Secure with Screw: Use the provided security screw to secure the doorbell to the bracket.
Step 9: Finalize Setup in the App
- Complete Setup: Follow any remaining prompts in the Ring app to finalize your setup. This may include customizing your motion alerts and notification settings.
- Test the Doorbell: Press the doorbell to ensure it functions correctly and that you receive notifications on your phone.
Troubleshooting Common Issues
- Weak Wi-Fi Signal: If you experience connectivity issues, try moving your router closer to the doorbell or using a Wi-Fi extender.
- Battery Drain: If the battery drains quickly, check the settings in the app to adjust motion sensitivity and recording settings.
- Setup Issues: Ensure you are following the steps accurately and consult the Ring Help Center for additional troubleshooting.
Customer Support
If you encounter any difficulties during the installation process or have further questions, Ring offers several support options:
- Official Ring Website: Visit the Ring website for resources, FAQs, and product information.
- Customer Support: You can reach Ring customer service at 1-800-656-1918 for personalized assistance.
Conclusion
Installing a wireless Ring Doorbell is a straightforward process that enhances your home security and provides convenience. By following the steps outlined in this guide, you can successfully set up your doorbell and enjoy the benefits of smart home technology.
For more information and support, visit the official Ring website. Secure your home today with a Ring Doorbell!